Sep 11, 2026Formulation & Testing
How to Plan Skincare Stability Testing Before Launch
Build a practical skincare stability testing plan around formula, packaging, storage, microbiology and launch decisions—without relying on a one-size-fits-all protocol.
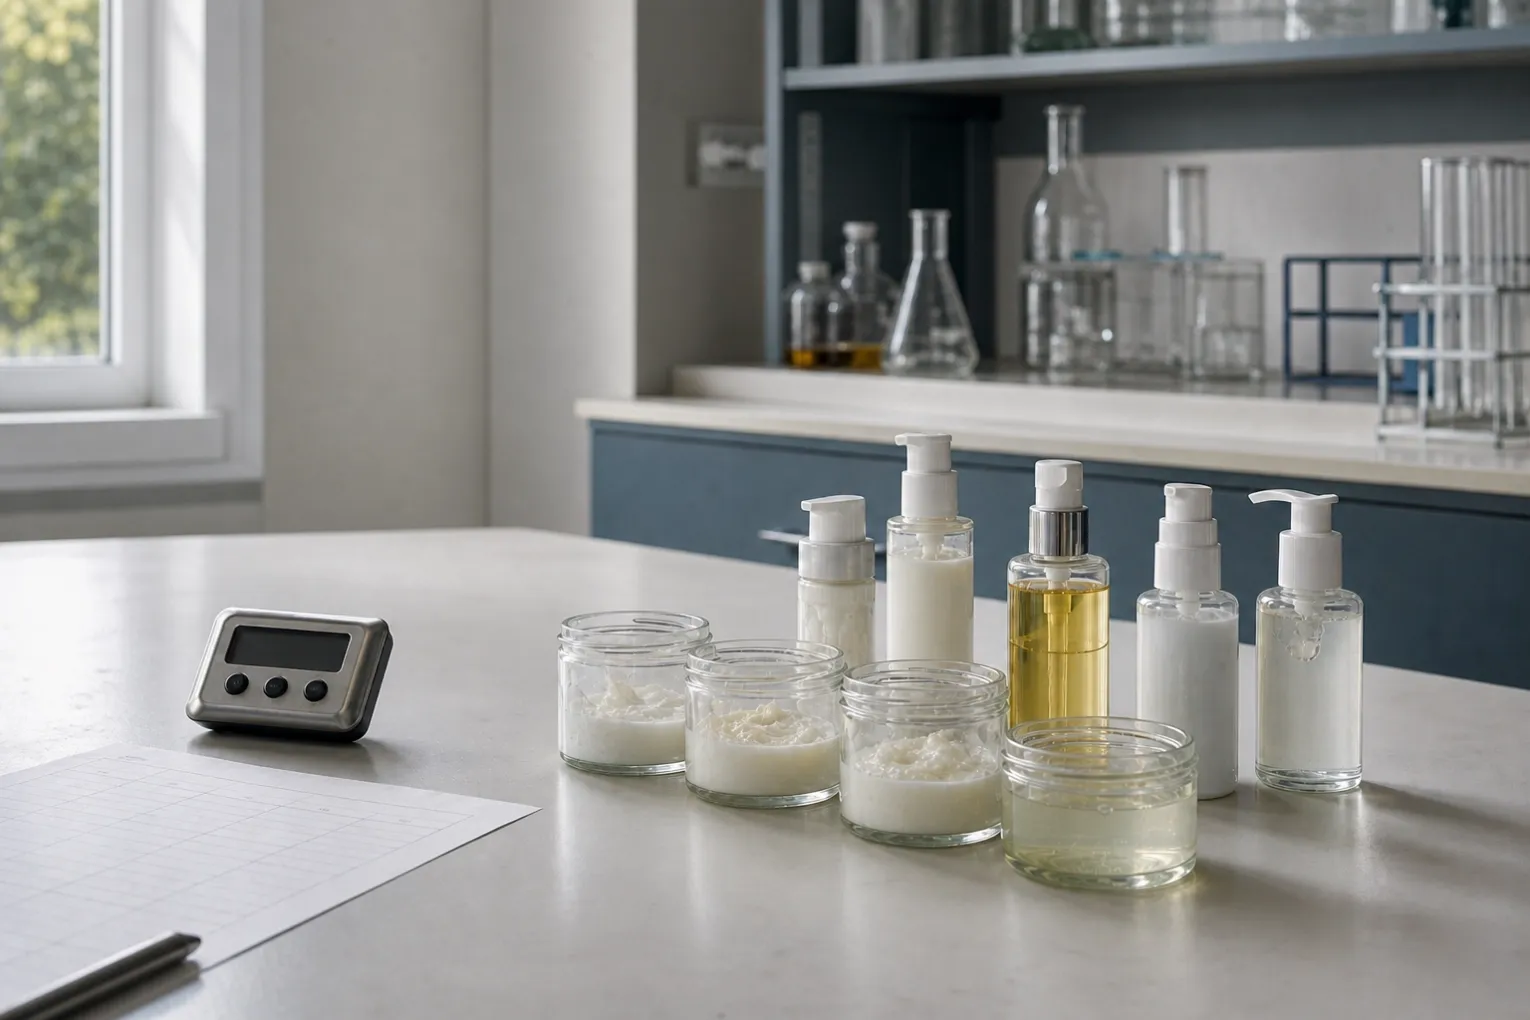
A stability plan is not a standard checklist copied from another product. It is a risk-based program that connects the formula, primary packaging, storage conditions, microbiology and the decisions your team must make before launch.
Why Stability Testing Must Be Product-Specific
Step 1: Define the Product and Market Use Case
Before choosing temperatures, time points or measurements, document how the finished product is expected to travel, sit on a shelf and be used.
- Product form: emulsion, gel, oil, balm, powder, mask or another format.
- Target markets and likely transport or storage environments.
- Primary packaging, closure, pump, dropper, jar, tube or airless system.
- Expected consumer handling, including repeated opening, dispensing and possible contamination routes.
- Claims or product attributes that depend on appearance, texture, odor or delivery performance.
Step 2: Set Acceptance Criteria Before Testing
A stability report is useful only when the team knows which changes are acceptable. Create a specification sheet before the first time point so decisions are not rewritten after results arrive.
Physical and sensory criteria
- Appearance, color, odor and visible separation.
- Texture, spread, absorption and after-feel where these are part of the product target.
- Viscosity, pH, weight loss or other relevant measurements.
Packaging criteria
- Leakage, paneling, cracking, discoloration or label damage.
- Pump output, dropper control, cap torque and closure performance.
- Signs of formula-pack interaction, clogging or migration.
Microbiological and chemical criteria
Testing should be selected through product risk assessment. Water activity, pH, preservative system, packaging and intended use can change the microbial risk. Chemical markers should focus on ingredients or attributes that could change product performance or safety.
Step 3: Build a Condition and Time-Point Matrix
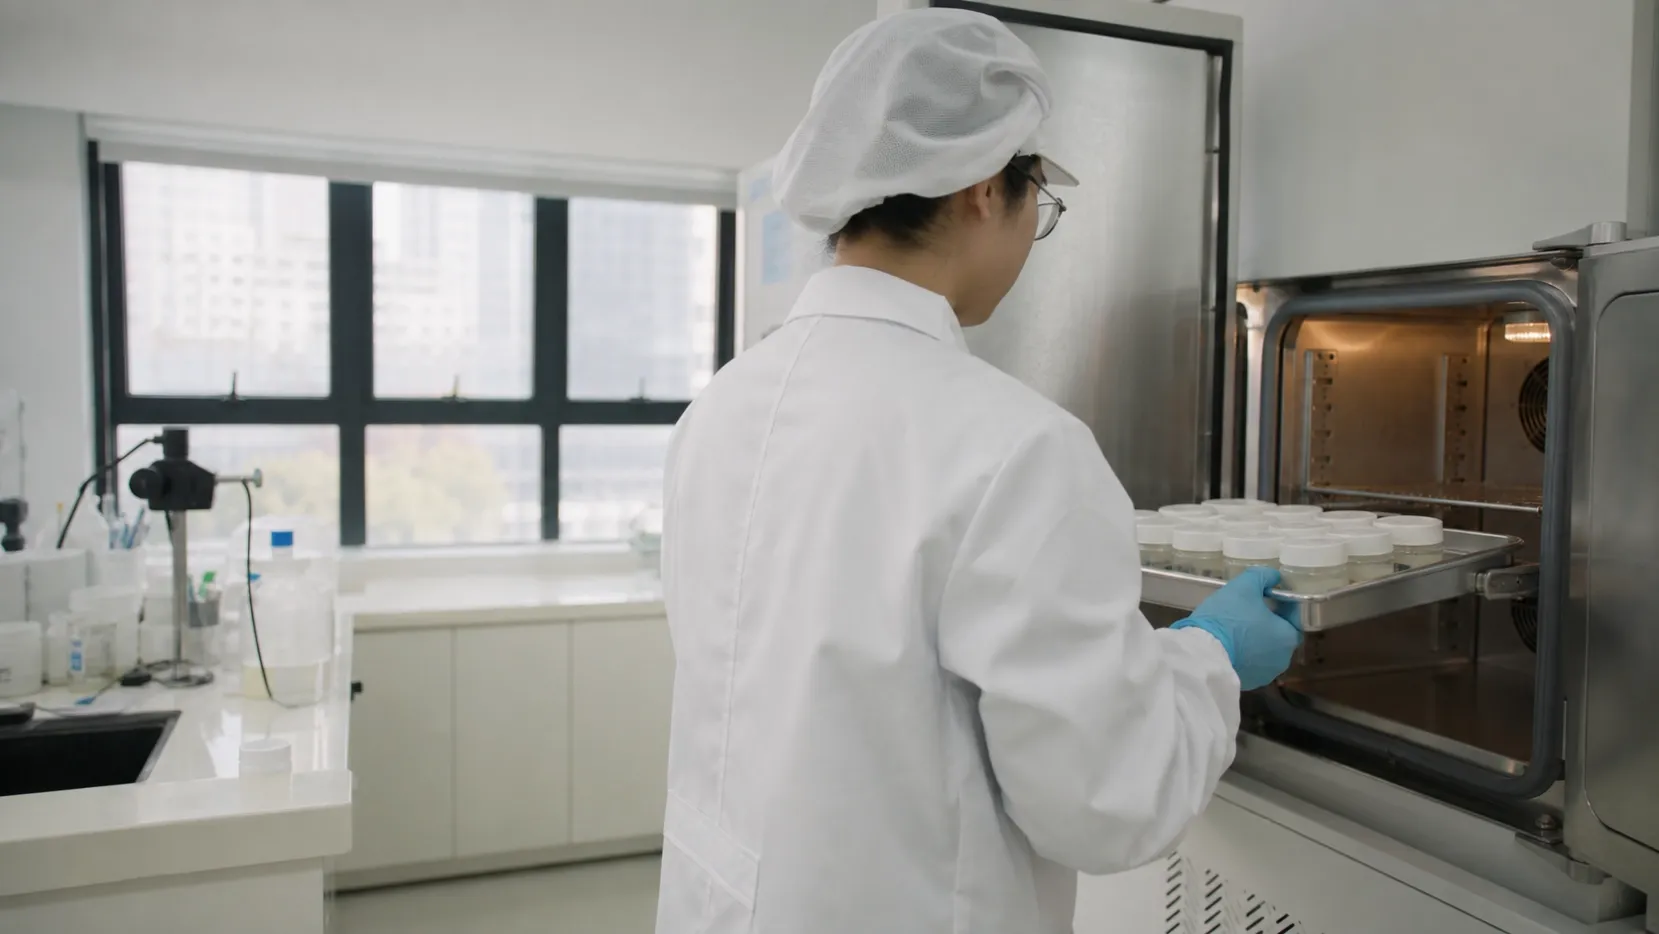
The matrix should represent the questions the brand needs answered. It may include real-time storage, elevated temperature, low temperature, temperature cycling, light exposure, transport simulation or in-use conditions. Not every product needs every condition.
For each condition, record the sample count, pack configuration, orientation, time points, measurements, acceptance limits and owner. Keep retained controls so observations can be compared against a known reference.
Step 4: Test the Finished Formula in the Intended Pack
Formula stability and packaging compatibility are connected. A stable bulk sample can still fail when the pump, liner, tube wall, ink, adhesive or closure interacts with the product.
Step 5: Include Microbiological Risk in the Plan
Cosmetics do not need to be sterile, but harmful microorganisms must be controlled. The formula, preservative system, packaging and consumer use pattern all affect contamination risk.
A jar opened repeatedly by hand presents a different use challenge from a well-designed airless package. Work with a qualified laboratory or technical partner to determine whether microbial limits testing, preservation efficacy testing or other assessments are appropriate for the product and target market.
Step 6: Review Trends, Not Only Final Pass or Fail
A product can remain inside a specification while showing a clear negative trend. Review the direction and rate of change across time points instead of looking only at the final result.
- Is pH drifting steadily even though it is still within range?
- Is viscosity changing faster at one condition than another?
- Does the package dispense differently after repeated use?
- Are color or odor changes linked to light, heat or headspace?
Trend review helps the team decide whether to reformulate, change packaging, add monitoring or collect more data before launch.
Step 7: Turn Results Into Launch Decisions
The output should be a decision record, not a folder of photographs and spreadsheets. Summarize the protocol, sample identity, conditions, observations, measurements, deviations, investigation and conclusion.
- Proceed: evidence supports the defined product and pack under the planned conditions.
- Proceed with controls: launch only with agreed packaging, storage, monitoring or market limits.
- Revise and retest: a formula, process or packaging change is needed.
- Hold: the evidence is incomplete or the risk is not understood.
Common Planning Mistakes
- Copying another product’s protocol without reviewing formula and packaging risk.
- Starting tests before acceptance criteria are approved.
- Testing formula in a laboratory container instead of the intended primary pack.
- Changing formula or packaging without restarting or bridging the relevant assessment.
- Treating accelerated exposure as an automatic shelf-life guarantee.
- Recording only pass/fail results and losing the trend behind the decision.
How BIO-TIDE Supports a Stability-Ready Development Process
BIO-TIDE helps growth skincare brands connect the product brief, formulation route, packaging choice, sample review and production controls. The aim is to make stability work decision-ready: the correct product in the correct pack, measured against agreed criteria, with changes documented before scale-up.
Bring your target market, product format, packaging direction, sensory goals and launch timing into the first development discussion. Those inputs make it easier to define a stability program that fits the product instead of relying on a generic checklist.